
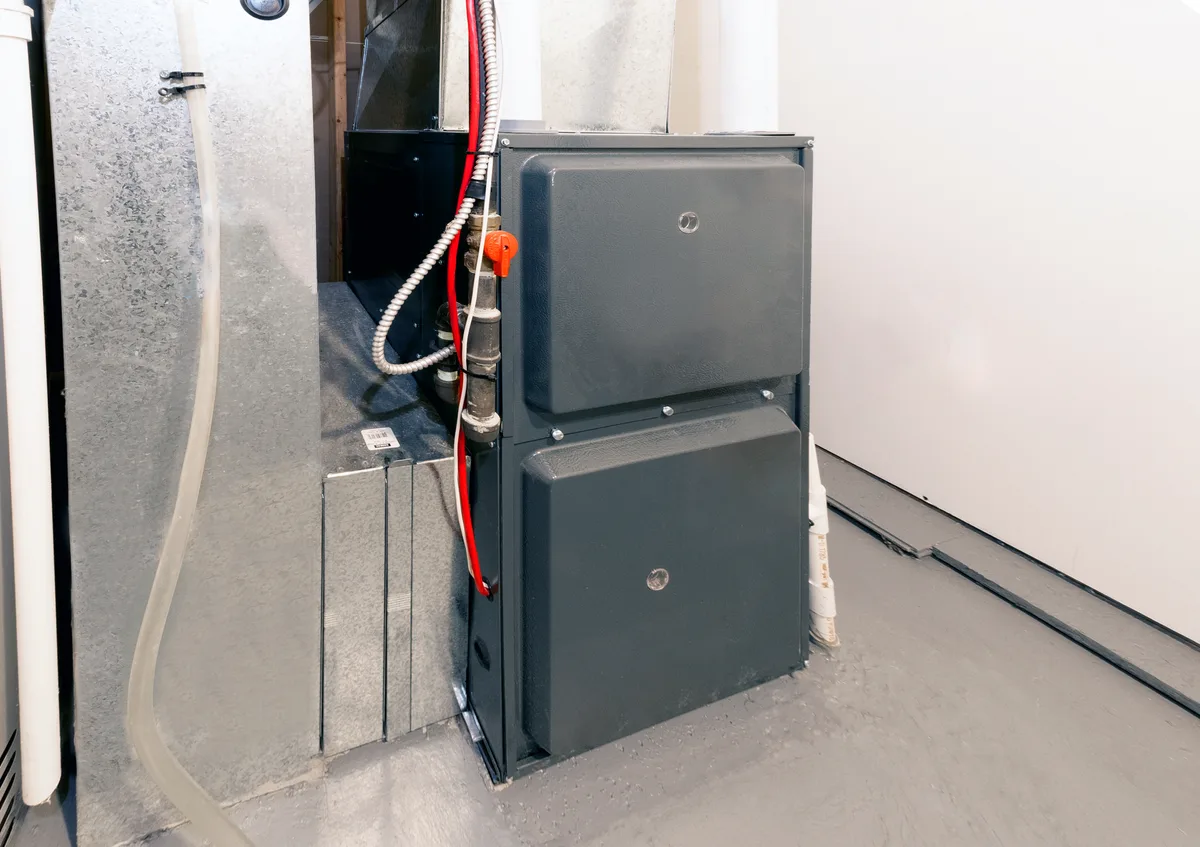
Furnace installation day runs about six to nine hours for a straight replacement, and this is what to expect hour by hour. A two-person crew strips out the old unit, sets and levels the new one, fabricates fresh sheet-metal transitions, runs the plastic venting, connects gas and condensate, and then spends the last hour commissioning: gas pressures, temperature rise, static pressure and a combustion analysis. Add most of another day if the water heater needs a liner or the ductwork needs surgery. Plan to be home at the start and at the finish.
Before the Day: What Should Already Be Settled in Writing
- The exact model number on the contract, so you can check it against the carton before it is opened.
- Whether the install is one pipe or two, and where the wall penetration goes. Walk the outside wall with whoever quoted it.
- What happens to the water heater's venting once the furnace leaves the chimney.
- Who pulls a permit if one is required and who meets the inspector. Requirements vary by municipality — our Burlington HVAC permits guide explains the local process, and a permit typically costs $100–$300 where one applies.
- Who registers the warranty, and by when. Manufacturers set their own registration window, usually measured in weeks from the install date, and missing it drops you from the registered parts coverage to the shorter base term. Ask for the deadline in writing.
- Which thermostat is included, and the filter size you will be buying from now on.
- Removal and disposal of the old unit, worth $150–$400 and normally inside the price.
Two practical notes. Book a shoulder-season date if you can, because the heat is off and the door is open for a good part of the day. And sort out parking in advance — the narrow streets in Old Oakville and Kerr Village will cost the crew an hour if the van cannot get near the door.
7:30 to 8:30 — Arrival, Walkthrough and Shutdown
The crew confirms the equipment against your paperwork before anything is unpacked. Check the model and serial yourself; it takes half a minute and it is the only moment it is easy. Floor protection goes down from the door to the basement stairs, and the work area gets cleared to give roughly a metre around the furnace.
Then everything is made safe: thermostat off, gas closed at the appliance shutoff, power off at the furnace switch and at the breaker, with the breaker tagged so nobody restores it mid-job. A furnace-mounted humidifier has its water shut and its line drained. If there is an air conditioning coil in the plenum, the refrigerant side is handled by a licensed technician and recovered properly rather than cut.
8:30 to 10:30 — Getting the Old Furnace Out
The gas union is broken at the drip leg, the vent connector comes off, and the line-voltage and low-voltage wiring is disconnected and labelled. The supply plenum gets cut, the return drop is opened, and the old cabinet is slid out and carried up the stairs. On a mid-efficiency removal the B-vent connector comes down and the chimney end is capped or reworked for whatever remains on it.
This is also the hour when surprises appear: a rotted plenum, a return that was never properly sealed to the cabinet, or asbestos-containing tape on the joints of an old octopus trunk in a pre-war Westdale or Kerr Village basement. Any of those should stop the clock and produce a written change order with a number on it — not a verbal figure shouted up the stairs.
10:30 to 12:30 — Setting the Unit and Fabricating the Sheet Metal
The new furnace is levelled on its base or a pad, and level genuinely matters on a condensing unit because the secondary heat exchanger and the trap drain by gravity. A furnace set out of level weeps condensate into places it should not go.
Then come the transitions: a supply plenum and a return drop cut, folded and screwed to fit this specific cabinet, and sealed with mastic or foil tape rather than fabric duct tape. This is the hour where a careful install separates itself from a quick one — a pinched transition raises static pressure for the next 20 years and no thermostat setting will fix it. If a new indoor coil is going in for an air conditioner or heat pump, it is set on top here, with its own drain pan and P-trap piped out.
Free quotes, written pricing.
12:30 to 14:30 — Venting, Condensate and Gas
- The two plastic pipes are routed to the outside wall, assembled with the certified primer and cement for that vent system, and the exhaust is pitched back toward the furnace so condensate runs to the trap instead of pooling in a sag.
- The wall is drilled and sealed. Double-brick walls in pre-war Halton and Hamilton houses core-drill slowly, and this is the most common single reason a job runs past its estimate.
- The terminals go on outside at the code clearances — above the snow line, clear of windows, doors, the gas meter and any fresh-air intake.
- The condensate trap is primed with water before start-up, then piped to a floor drain, a laundry standpipe or a pump. A pump is $250–$450 installed and turns up constantly in 1950s and 1960s bungalows where the floor drain is at the far end of the basement.
- Gas piping is run to the new connection point with a drip leg and a shutoff at the furnace, and then every joint is leak-checked and a manometer goes on the inlet and the manifold.
14:30 to 15:30 — Start-Up and Commissioning, the Part That Gets Skipped
- Inlet gas pressure checked with the furnace firing and every other gas appliance in the house running, so the pressure is measured under real load rather than in ideal conditions.
- Manifold pressure set to the rating plate. On natural gas that is typically 3.5 inches of water column on high fire, and the plate always governs over the rule of thumb.
- Temperature rise measured across the heat exchanger, with the blower speed adjusted until the rise lands inside the range printed on the plate. Too little rise means too much air; too much rise cooks the exchanger and shortens its life.
- Total external static pressure read on both sides of the cabinet. If it comes back high, the ductwork or the filter is the reason and you deserve to hear about it on the day rather than in year three.
- Combustion analysed in the flue, with carbon monoxide and oxygen readings recorded on your paperwork.
- Every safety proved: flame sensor, rollout switch, high limit, pressure switch and the condensate overflow cutout.
- The thermostat configured for the equipment actually installed — staging, fan settings, and any humidifier or heat pump in the system.
Ask for those numbers before the crew leaves. A commissioning sheet showing gas pressures, temperature rise, static pressure and combustion readings is ordinary professional practice, and it is your evidence that the furnace was set up rather than merely connected. It is also the baseline any future technician will compare against.
15:30 to 16:00 — Walkthrough, Paperwork and Cleanup
- Where the gas shutoff and the furnace switch are, and how to use them.
- The filter size, the airflow arrow direction, and how often to change it.
- The condensate pump if there is one, its safety switch, and what happens if it fails.
- How to read the diagnostic light and count a flash code before you phone anyone.
- Confirmation that the warranty has been registered, with the number written down.
- The permit and inspection date if one applies, and who meets the inspector.
- Rebate paperwork, and an invoice that matches the contract with any change orders shown separately.
What Makes a Furnace Install Take Longer
- A chimney liner or a power-vent conversion for the orphaned water heater — usually the biggest single addition to the day.
- Adding a return, resizing a trunk, or repairing ductwork that was already restricting airflow.
- Asbestos-containing material on old duct joints, which stops the work until it is dealt with properly.
- Relocating the furnace to a different part of the basement, which turns a swap into a small renovation.
- A hard exterior wall, an awkward vent route, or a house with two systems.
What It Costs, and What Is Inside That Number
- High-efficiency furnace installed: $4,500–$7,500, with rebate paperwork handled as part of the job
- Permit where a municipality requires one: $100–$300
- Removal and disposal of the old unit: $150–$400 of value, normally included
- Condensate pump where the drain is out of reach: $250–$450 installed
- Chimney liner for an orphaned water heater: $400–$900
- Furnace and air conditioner replaced together in one visit: $7,500–$11,500, which is roughly a thousand dollars less than two separate installs
If you would like to see how the day is planned before you commit to it, our furnace installation service page sets out the scope we quote, how long a furnace installation takes covers the timing questions in more detail, and you can book a written quote that names the vent route and the chimney plan.
Frequently asked questions
Do I need to be home for the whole installation?
Not for all of it, but be there at the start and at the end. The start is when the equipment is confirmed against your contract and the crew walks the vent route with you. The end is the commissioning walkthrough, where you get the readings, the filter size, the shutoff locations and the warranty registration. The middle is sheet metal and pipe, and you are not needed for it.
Will the house get cold during a furnace replacement?
It cools noticeably. The heat is off for most of the day and the exterior door is opened repeatedly while equipment moves in and out, so expect a jumper and closed doors upstairs. That is the argument for booking in the shoulder season rather than in February, though we do replace furnaces in the depths of winter when a unit has failed outright.
What should be on my invoice at the end of the day?
The model and serial numbers of what was actually installed, the scope as quoted, any change orders itemised, the warranty registration confirmation, and the commissioning readings. If a permit applied, the permit number belongs there too. An invoice that says only new furnace installed with a single total gives you nothing to hold anyone to later.
How soon can I use the furnace after the install?
Immediately — it will already have been run through several full cycles during commissioning, in heating and, if a coil went in, in cooling. What you may notice on the first few runs is a faint hot-metal or oil smell as manufacturing residue burns off the new heat exchanger. That fades within a day or two and is not a fault.
Can a furnace be replaced in the middle of winter?
Yes, and a large share of replacements happen exactly then because that is when furnaces fail. The differences are practical rather than technical: the house cools faster with the door open, frozen ground and snow make the exterior terminal work slower, and equipment availability in a cold snap is tighter. Emergency replacements get scheduled first thing so the heat is back on before evening.